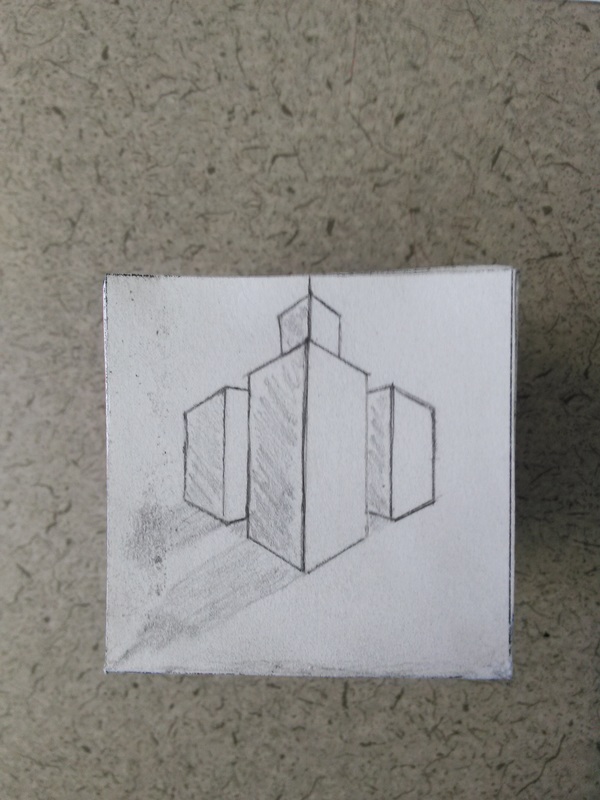
In this project we became familiar with the different elements of art. We had them taught to us and we also put them into practice when making our cubes that represent said elements of art.

|
|
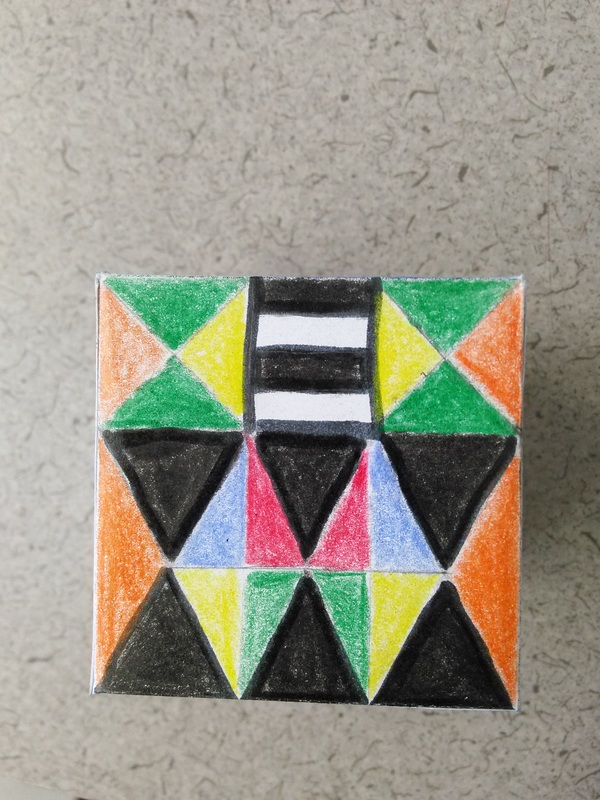
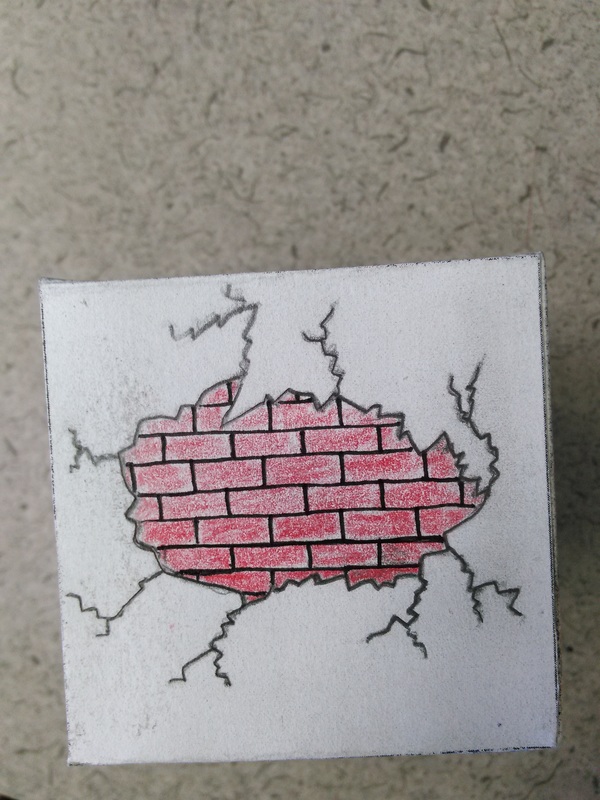
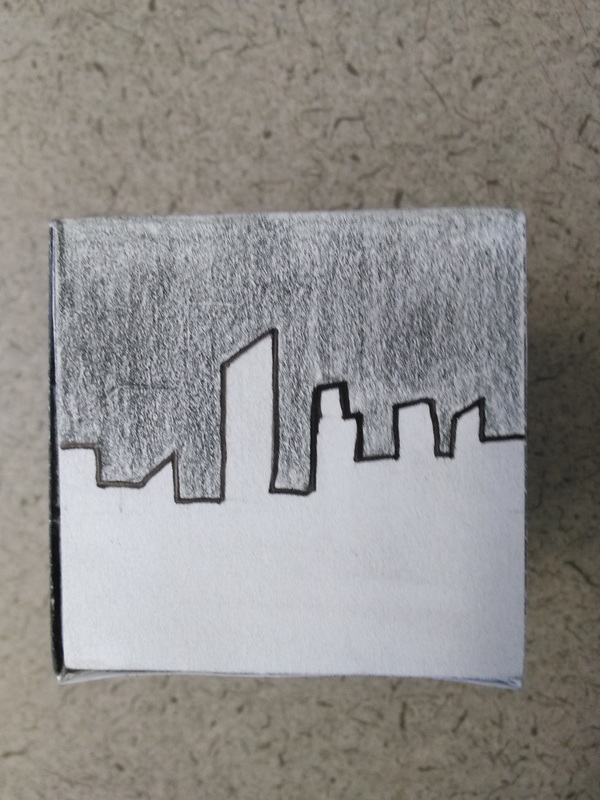
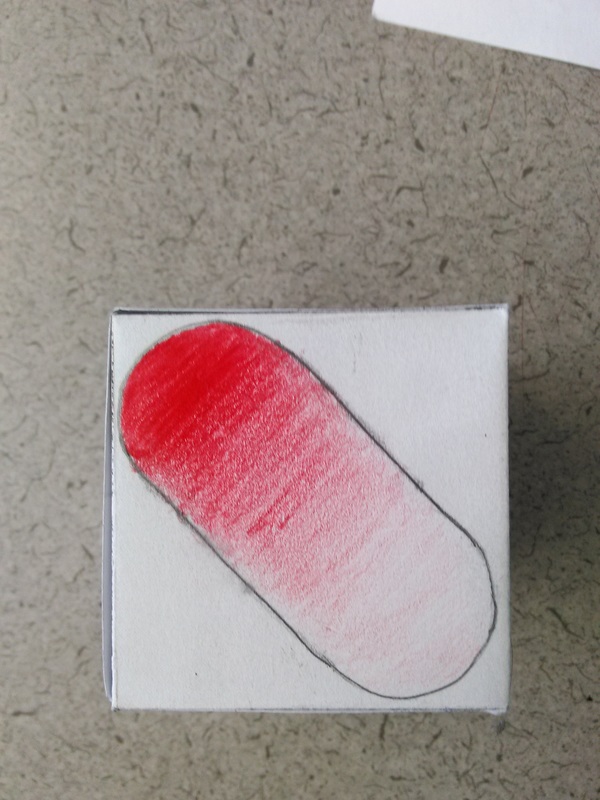
The Elements of Art
- Line- One stroke of a utensil. Lines can vary in with and length.
- Shape- When lines connect to form a shape. Two dimensional or three dimensional.
- Space- The areas around and inside of a shape. Light or dark or varied in color.
- Texture- The way something feels. Or in a drawing the way something would feel.
- Color- A mixture of hue and intensity. Basically all of the basic colors.
- Value- The way something is used or seen. Lighter/darker.
The Learning Process
We were handed a packet by Chris that had all of the elements of art and 3 blank squares with spaces to write for each of them. For each element of art we began by having a mini lesson on that subject. It usually had a slideshow or some images to go along with it. Along with the presentation Chris gave us a demonstration of how the actual technique would be put into use in a piece. Then we revived about 10 minutes to try it ourselves. After the first draft we got feedback from peers that wrote down what we could do better. Then we made our second draft, got more feedback and created our third and final draft.
After we did that for every single element of art we were given card stock that had an outline to fold up into a cube. We recreated our final drafts with slight improvements onto the paper. With color added and feedback from each other and Chris we finished the drawings. Then we had to cut out the outline fold it up into a cube and then go ahead and glue it together for it for fold. If we were to need to redo one square from the cube we would simply cut out one square from a new cutout and glue it onto the cube or replace the old one.
